Saturday, February 13, 2016
Valentine's cookies 2016 - part 2
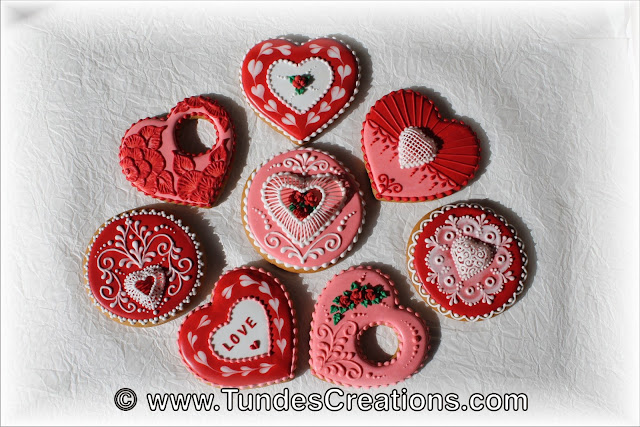
I am back with the rest of the Valentine's set. Again, I just mention the napkin ring cookies as there is a whole post about them.
I already showed yesterday the icing transfer heart. This one is the same, but smaller. I used a candy mold to create the small heart transfers. The cookie has a simple red base color, the icing transfer and white piped pattern, finished with a bead border.
This cookie features an other big heart transfer with roses and some piping around it.
This is a 4 inch heart cookie and the inside is a 2 inch heart shape. I flooded the inside with white and the rest of the cookie with red icing. Then I made the hearts in the red part with wet on wet technique. Watch my video to see how to make these. I wrote the word LOVE in the middle and added a little heart underneath. I finished the design with pink bead borders.
This is a very similar design, but instead of writing to the middle I added a rose.
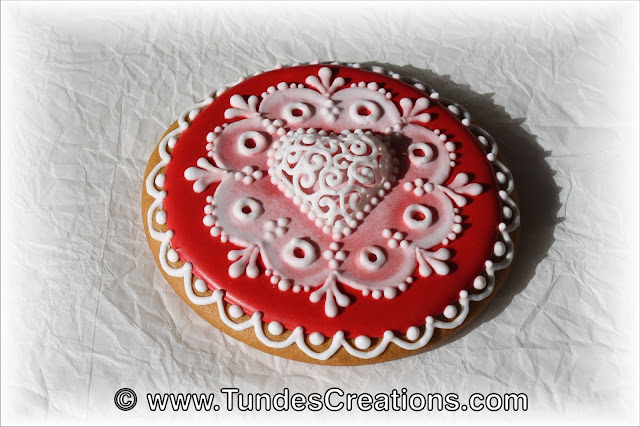
The transparent lace is combined with a small royal icing transfer heart on red base.
The top of the cookie is flooded with red, the bottom with pink icing. I placed a small icing transfer heart to the middle. Then I traced lines from the heart to the sides on the top and connected the two parts with the red lace pattern. I finished the design with a simple bead border.
What are you creating for Valentine's Day?
Friday, February 12, 2016
Valentine's cookies 2016 - part 1
I decided not to plan too much ahead for the Valentine's cookies. I baked some circles and some hearts, prepared red, pink and white icing in flood and piping consistencies and started to play.
I already wrote a post about the napkin ring cookies, so I will not talk about that one now. So let's talk about the next cookie.
This is a 4 inch heart. I traced a 3 inch heart on top, then I created the red scalloped border with brush embroidery. Then I flooded the 3 inch heart with pink and let it dry. I finished the border with lots of dots and put some toothpick roses to the middle.
This cookie has a simple red flooded base, a red bead border and a transparent lace pattern. You can see how to make this lace (using 3 second consistency icing) here.
I made this heart shape icing transfer using a 3D cookie mold. I started with a marbled pink and white base color and when it was dry I placed 3 roses to the middle of the cookie then I added the heart transfer. I finished the design with white bead border.
This is a little candle holder. The base is a simple circle flooded with red icing and finished with a bead border. I cut the middle of the heart cookie after baking, then added a marbled flood base. I glued the two parts together, placed the candle inside the hole. I decorated the heart cookie with 3 little roses and finished the design with borders.
To be continued...
Go to my website to see more of my work.
Wednesday, February 3, 2016
Subscribe to:
Posts (Atom)


